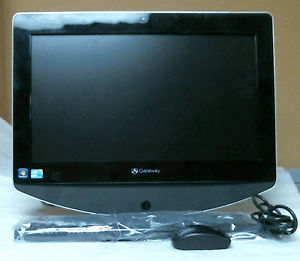
How to Remove the Cover or Case of a Gateway zx4931-31e
 All-in-one computers can be a pain, particularly in disassembly. The biggest issue is usually how to get the cover off. Manufacturers (deliberately) aren’t much help.
Our patient today is a Gateway zx4931-31e. How to get the black cover off of the back?
One bit of advice on the internet suggests removing the two rubber feet. Not necessary or advisable.
Some posts refer to 4 screws. The model I have here has threaded holes in 4 places in the middle of the back where screws might go. Perhaps someone removed them already; or perhaps they weren’t included on this computer. If you have 4 obvious screws in the middle of the back, then remove ’em. Beyond that…
The real key to disassembly of the zx4931 is taking the stand off. This is basically a large silver rod, and you’ll need to remove it. Start by removing the two plastic covers where the stand attaches to the body of the computer. Press against the narrow portion at the square end of the little cover. This will clear the square-end latch, and you’ll then be able to work the cover free.
Once you’ve taken off the two stand-attachment covers, remove the stand, by unscrewing the three screws at each attachment point.
Now you should be able to separate the black back plastic cover. You may need to run a credit card or screwdriver along the silver edge; in the case of this zx4931 all I had to do was tug gently along the edge to separate it.
Now you’re almost in. There are two screws toward what is normally the top of the computer that attach a metal cover over the main workings. With the unit face-down on the table, remove these two screws, then slide the metal cover towards the (normal) top of the computer. That’s it! You’re in. By the way, those same two screws also hold the hard drive in place.
If you’ve appreciated this extreme-frustration-saving little guide on how to dissassemble the Gateway zx4931-31e, I do accept tips! Tips may be made via PayPal to:
![]()
Thanks for tuning in!
